Affiliate Disclosure: This post contains affiliate links. If you buy through one of them, I may earn a small commission at no extra cost to you. I only recommend stores I’ve actually ordered from or researched thoroughly — my opinions are my own.
The Problem: The Figure Looks Great in Person, Terrible in the Photo
You’ve got the lighting sorted, the shelf looks great, and then you pull out your phone to snap a photo and the result looks flat, washed out, or just… underwhelming compared to what you’re actually seeing. This is an extremely common gap, and it’s rarely about the figure itself — it’s almost always about a handful of photography fundamentals that are easy to fix once you know what’s going wrong.
In my experience, the difference between a mediocre figure photo and one people actually stop to look at usually comes down to three things: light, background, and angle — none of which require expensive camera gear to get right.
Who This Article Is NOT For
- If you already have a photography workflow you’re happy with, this is more useful for someone still figuring theirs out.
- If you haven’t read my display and lighting setup guide yet, it’s worth a look first — good display lighting and good photography lighting overlap significantly.
- If you’re only interested in casual snapshots for yourself, most of this is aimed at people specifically trying to get social-media-ready results — feel free to skip if that’s not your goal.
The Three Fundamentals That Actually Matter
1. Lighting quality, which affects a photo more than any other single factor, camera quality included.
2. Background and composition, since a cluttered or distracting background undersells even a well-lit figure.
3. Angle and focus, which determine whether the shot actually highlights the figure’s best details.
Lighting: Get This Right First
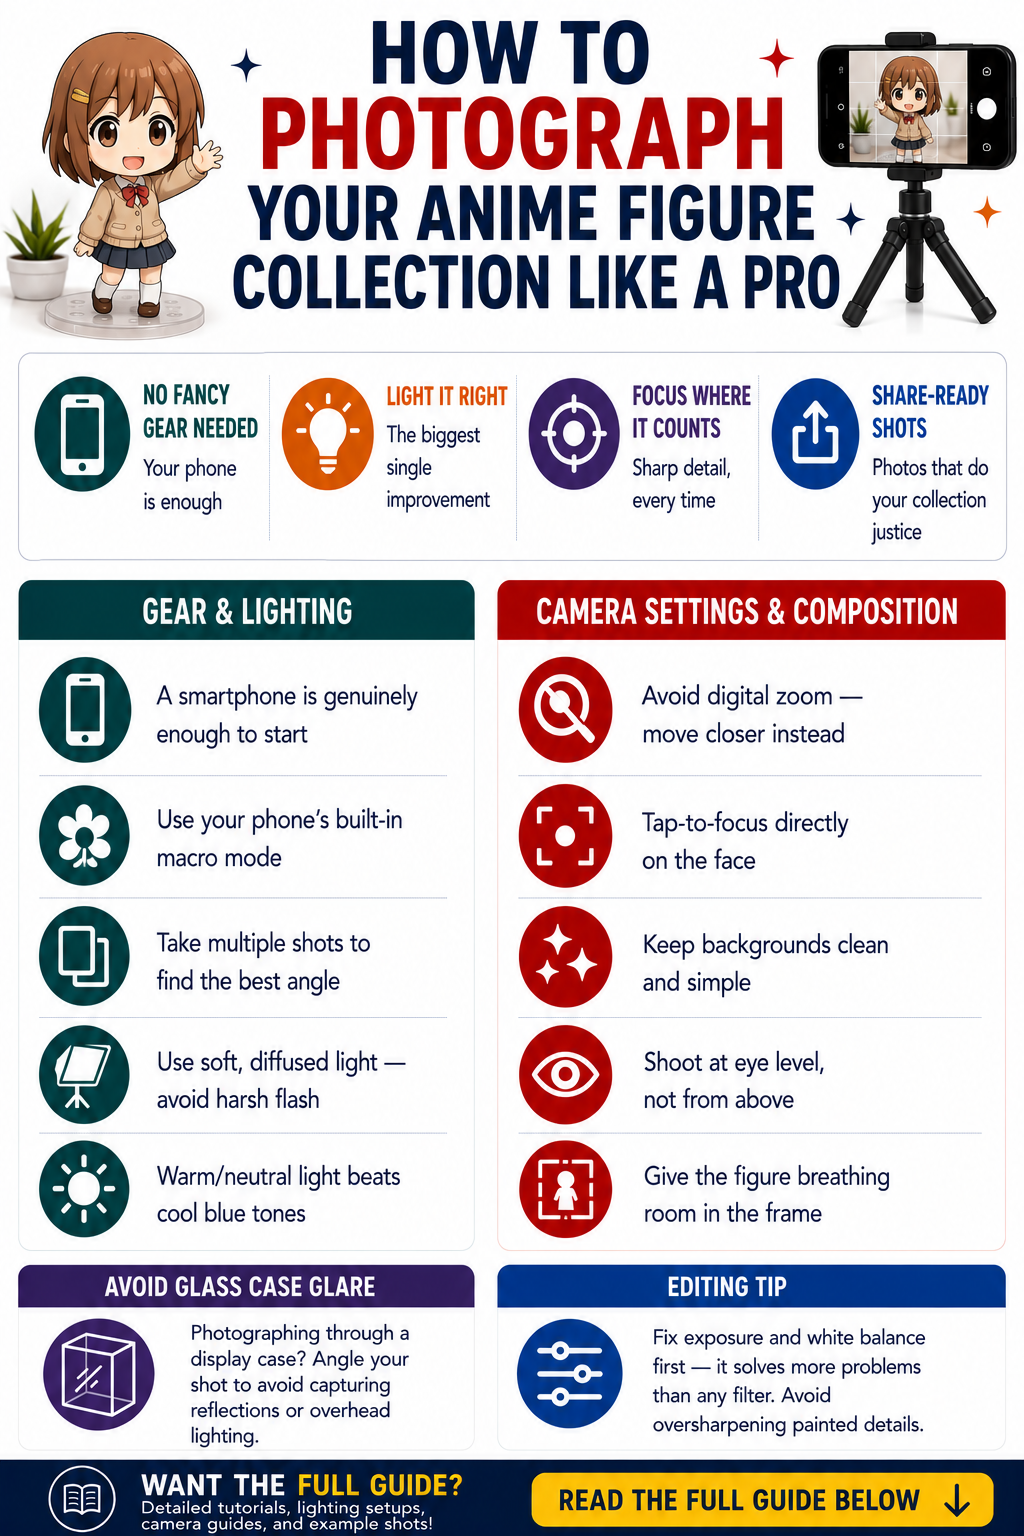
- Natural, indirect light is genuinely the best free option available. Position your figure near a window, but not in direct sunlight — diffused daylight (an overcast day, or a spot just out of direct sun rays) produces soft, even lighting that’s hard to beat without professional equipment.
- Avoid your phone’s built-in flash entirely. Direct flash creates harsh shadows and blown-out highlights on glossy figure surfaces, which tends to look worse than simply having less light overall.
- If you’re shooting at night or without good natural light, use the same warm/neutral white LED setup recommended for display lighting. What looks good to the eye on your shelf generally photographs well too.
- Diffuse harsh light sources. A simple trick: shooting through a thin white cloth or paper held between the light source and the figure softens harsh shadows significantly, similar to how professional photographers use diffusion panels.
- Avoid mixed lighting temperatures in one shot. Combining warm indoor light with cool daylight in the same frame often produces an odd color cast that’s hard to correct afterward — pick one dominant light source per shot.
Background and Composition
- A plain, uncluttered background makes the figure the clear focal point. A single solid-color backdrop (poster board, fabric, or even a blank wall) consistently outperforms a busy shelf background for a dedicated photo.
- Match your background to the figure’s tone, rather than defaulting to the same color every time — a dark backdrop tends to make bright colors pop, while a lighter backdrop suits figures with darker color palettes.
- Give the figure breathing room in the frame. Don’t crop so tightly that the composition feels cramped, but also avoid so much empty space that the figure feels small and lost in the shot.
- Consider a simple prop or two, used sparingly. A relevant small object (a book, a plant, a subtly thematic item) can add context without overwhelming the figure itself — but resist the urge to clutter the scene with too many props at once.
Angle, Focus, and Camera Settings
- Shoot at or slightly below the figure’s eye level, rather than straight down from above. This angle tends to feel more natural and makes the figure feel more like a “presence” in the frame rather than an object being looked down at.
- Use your phone’s macro or close-up mode for detail shots, if your phone has one — this lets you get closer without the image becoming blurry, which is especially useful for showcasing fine paint or sculpt detail.
- Tap to focus directly on the figure’s face or the most important detail, rather than trusting your phone’s automatic focus, especially in a busier composition.
- Avoid digital zoom. Physically moving closer to the subject preserves image quality far better than zooming in digitally, which tends to introduce blur and softness.
- Take more shots than you think you need. Small variations in angle and framing add up, and it’s much easier to pick the best result from several options than to nail the perfect shot on the first try.
Basic Editing (Without Overdoing It)
- Adjust brightness and contrast lightly to make sure the figure doesn’t look washed out or overly dark compared to how it actually looks in person
- Correct white balance if the color temperature looks off, particularly if you shot under mixed or artificial lighting
- Avoid heavy filters that shift the figure’s actual paint colors. A filter that looks nice aesthetically can misrepresent the figure’s real appearance, which matters if you’re posting for other collectors who care about accurate color reference
- Crop for composition after the fact if needed, rather than always getting the framing perfect in-camera — small crop adjustments can meaningfully improve a shot’s balance
Handling Figures Safely During a Photoshoot
A quick reminder tied to proper figure care: repeated repositioning for photos does put some wear on articulated joints over time, and handling by delicate parts (weapons, extended hair, thin accessories) risks damage. If you’re doing a dedicated photoshoot, handle the figure by its base or torso when repositioning, and avoid excessive repeated posing purely for the sake of getting more shots.
Frequently Asked Questions
Do I need a professional camera to get good figure photos? No — a modern smartphone camera is genuinely capable of great results. Lighting and composition matter far more than camera hardware for this kind of photography.
What’s the single biggest mistake people make photographing figures? Using direct flash or harsh overhead lighting. It’s an easy fix and probably has the biggest single impact on photo quality of anything covered in this guide.
Should my display lighting and photography lighting be the same setup? They can overlap significantly — warm/neutral white LED lighting that looks good for display generally photographs well too, though you may want to supplement with natural light or diffusion specifically for photos.
Is it safe to reposition my figure a lot for different photo angles? Occasional repositioning is fine, but repeated posing does add gradual wear to articulated joints over time — handle by the base or torso, and avoid excessive repositioning purely to maximize the number of shots you take in one session.
Final Thoughts
Great figure photography isn’t about expensive equipment — it’s about controlling light, keeping the background simple, and choosing an angle that flatters the piece. Start with natural, indirect light and a plain background, and you’ll likely see a bigger improvement than any camera upgrade would give you.
If your display setup itself could use some work before you start photographing it, my display shelf and lighting guide is worth reading alongside this one — a well-lit, well-organized shelf makes for a better subject before the camera even comes out.